It's no surprise that I am a big Pinterest fan. So many great ideas are resting a mere "click" away!
I don't know if you're like me, but every now and then I realize I've done a lot of "pinning" and not a lot of "doing."
Sometimes that has to do with a lack of time, but frequently for me, it has more to do with fear of failure. Let's work on ditching that fear, ok?
So, this week I'll show you a pin I decided to tackle, and maybe you'll want to do the same!
This is a great beginner sewing project, that can (honestly) be completed within a couple of hours.
Be brave! Let's make a skirt:
Materials you'll need:
-Fabric; I bought 1.5 yds of fabric, and had a good bit leftover (heavy or light fabric will work, but I was looking for a heavier fabric to have more structure)
-Measuring tape
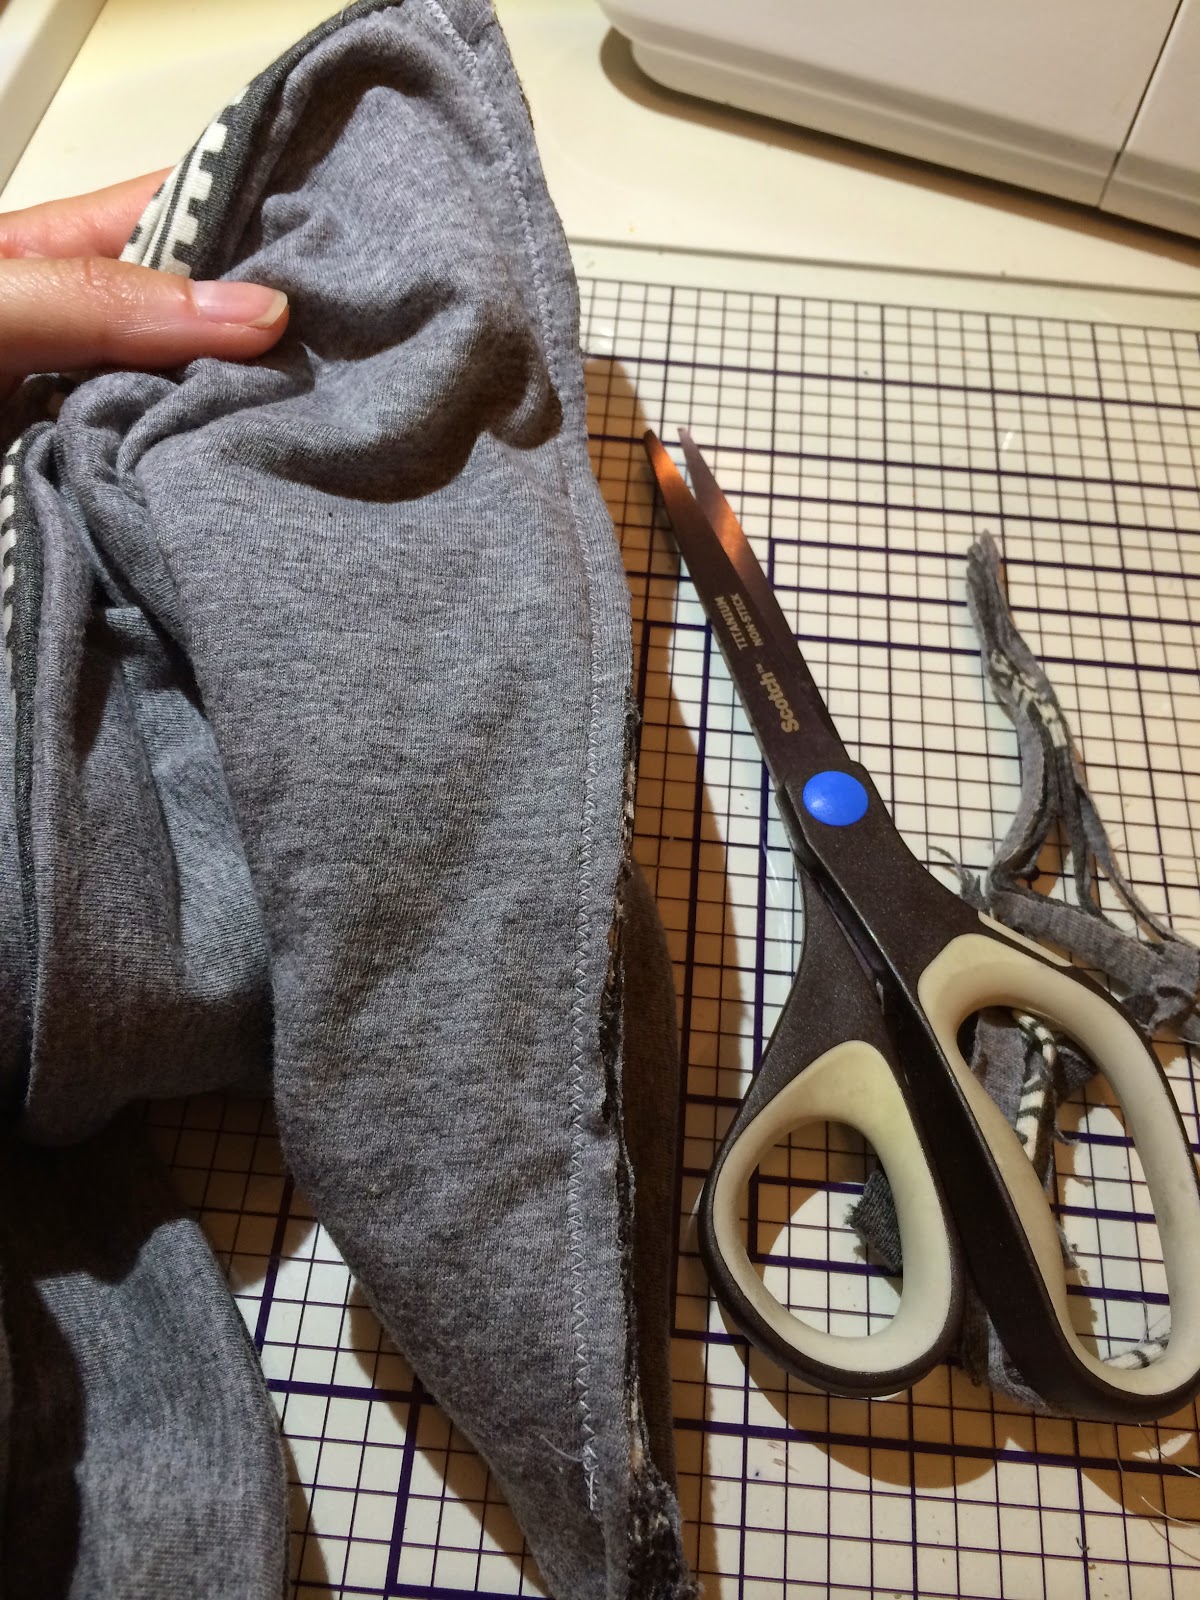
-Fabric scissors
-1" elastic
-Large safety pin
-Sewing machine with coordinating thread
-Iron
Here is the link to the paper bag skirt tutorial I found on Pinterest,
Here is a direct link to watch the video:
I love the simplicity of this skirt, and the fact that I don't have to use a pattern to make something fun to wear. ;)
Now, if you want to make the skirt just like the one in the tutorial, get your materials and just go for it!!
I loved this skirt, but I wanted it to be a little less full. I found a really cute skirt idea in this book:
 |
| Skirt-A-Day Sewing, by Nicole Smith |
 |
| I love this more fitted take on a paper bag skirt :) |
This skirt construction is quite complicated for me; I want to avoid zippers and hook closures if at all possible. :)
So, I decided to try to incorporate some the features/details of this "sack" skirt to the paper bag skirt in the tutorial.
Here are the changes I made from the tutorial:
1.) I changed the dimensions of the skirt. I multiplied my waist size x 1.5 rather than 2 to determine the length of fabric I needed to cut. This made the skirt less full. I also measured from my waist to a few inches above the knee, rather than to the knee, and added 2.5 inches for the hem, as per the video.
2.) I made a sash. A thin, cute belt would have been perfect with this style of skirt, but since I didn't have one, I made a sash.
To make the sash:
Cut out two rectangles 3" wide by the desired length. In the Skirt-A-Day Sewing instructions, the sash is 68" long, but I was limited by my leftover fabric. My sash was ~45" long.
With the right sides together, stitch the two sashes together, leaving an opening for turning. Turn the sash inside out, and press it, folding the open edge to the inside. Edgestitch around all the edges, closing the opening as you stitch.
Here is my finished product!
My next experiment is to add pockets to it, but I have to add a dose of bravery first. We'll see!
Thanks for reading; go tackle one of your "pins"--- or just make a paper bag skirt!
Have a great weekend!!