
Sometimes, you just get lucky. .... Like when you find a jersey maxi dress with a super fun print, that happens to be a little to big, on the clearance rack at Target.
Hello to you, future headbands, skirt and scarf!


Seriously, I will now always check the clearance rack, not just for fun clothes for me, but for future project fabric. :) You should also check your closet for any t-shirts you're not wearing anymore!
So this week's challenge for me was to try to make some of the seriously cute jersey knit headbands I've been seeing so much of lately. There are a lot of little babes in my life, so I have a lot of reasons to make some headbands.
 |
| Wouldn't you make a headband for her? |
So here is the first Pinterest inspiration:

This was a wonderful step-by-step tutorial! It was easy to follow, and here was my first attempt:


Tips: When sewing jersey knit, take your time. Ugh. I have a lead foot tendency with the sewing machine... which is the quickest way to crooked lines when I'm sewing this kind of fabric. Just go slow, and don't be afraid to use pins to secure your pieces!
I made this headband in a few different sizes, and I definitely appreciate her tip to add a small dot of hot glue to hold the flaps of the bow in place. Why not make a Mommy & Baby set? I'm logging that idea away for a future baby shower gift. :)

......................................................
Here is the next Pinterest headband challenge:

Love this tutorial! PS- If you're interested in getting brave with some sewing, check out the rest of her blog for her creative designs and free patterns!
This headband took me a few tries to figure out, but take your time. (Ugh, again.)
One tip with this headband, is to be aware of the direction of the grain of the jersey knit. I wanted to change the direction of the print for this headband, but in doing so, I decreased the ability for it to stretch. Just make sure your sizing will work before you sew! (Lesson learned.)
Here was my finished product:


......................................................
The last Pinterest inspiration came from an Etsy post:

No tutorial for this headband, but I followed the same technique as the Baby Turban, but using only one piece instead of two.
Cut out your fabric, depending on the size you want.
(Check out this link for baby headband sizing tips!)
(Check out this link for baby headband sizing tips!)

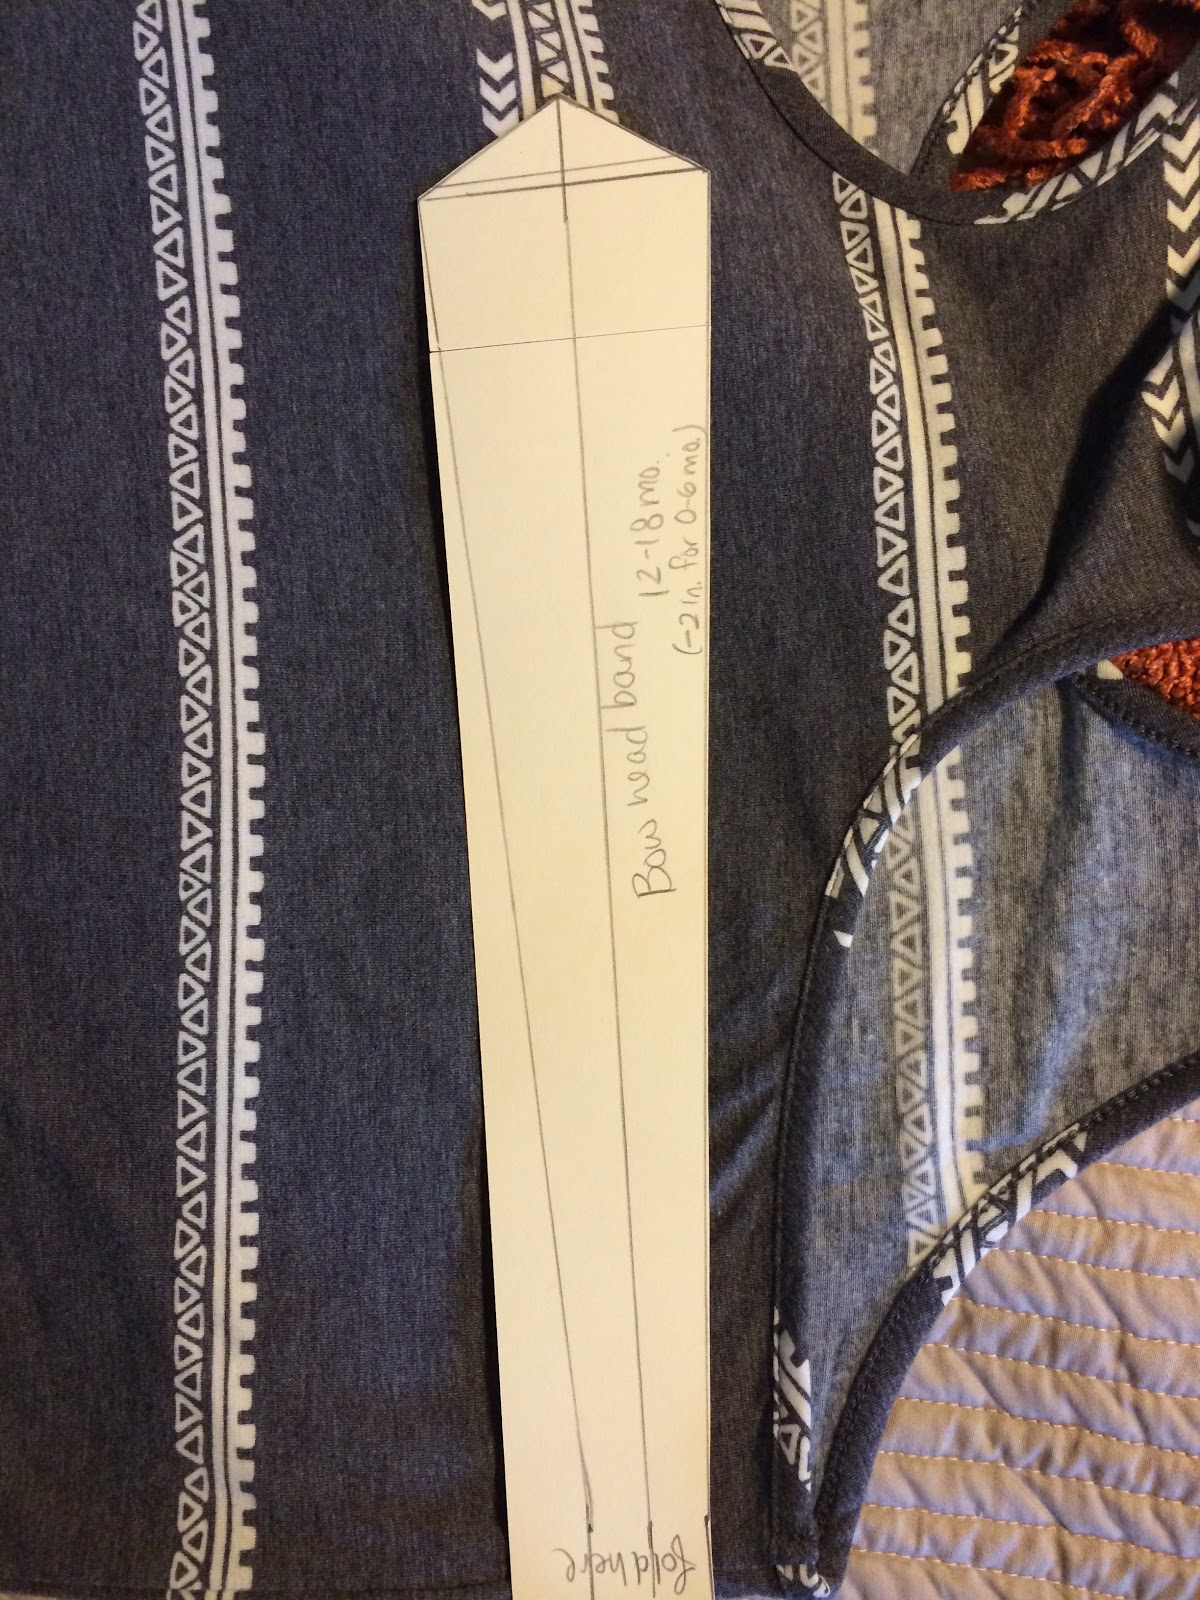
 |
This fabric is folded, so I cut a total of 16" in length and 3" in width (1" on either side of the pattern stripe. |
Sew the cut edge, with right sides facing each other.


Turn the headband right side out. Position the seam on the under-side of the headband so that it won't show. If you're feeling fancy, you can give it a quick ironing. :)


Now tie a knot in the middle.

Check your sizing, then sew the ends closed just like you did with the baby turban tutorial.


So cute! Done!

So get creative, and start looking at fabric differently! This week's challenge will potentially result in the depletion of my t-shirt supply. After all, headbands are way cooler than t-shirts, right?


Thanks for reading!

No comments:
Post a Comment