
Hello to you!
This week's project was one I had wanted to tackle for a long time. It was a gift for my mom and definitely a fun, different challenge for me.
I've been looking at examples of string art on Etsy and Pinterest for a while and have found some really cool artwork. Some are intricate, but for the most part, they're all doable. Just think back to little string art projects you made in elementary school. :) Here are a few I saw on Pinterest:

See? You can make anything from your monogram, to a word or image. All you need are nails and string, which also makes it an affordable project.
Check out this version I found in Target:
 |
| Yeah.... you can make that. :) |
For my mom, I wanted to use string art to make a sign that could be hung on a wall or propped up on a mantle. I've done some string art with cork board and tacks, but it wasn't as sturdy as nails in wood. I love pallets and all of the projects you can make with them, but they're often heavy. I looked for an alternative in the shelving section of a home improvement store, and found this shelf for less than $6:

It is 7.8"x 35.8" and already has a faux woodgrain finish, so I won't need to paint it. It is also sturdy, but not too heavy to hang.
Once I had the board, I was ready to go!
Supplies needed:
-Board/Wood scrap
-Printed or drawn templates
-String or yarn
-Scissors
-Hammer
-Nails with flat head, like these I found at Lowe's:
 |
| Size: 5/8 x 18 ( I used about 1.5 of these 2oz. containers) |
Ok, here we go!
The first thing I needed to do was apply the bracket for hanging to the back of the board.

 |
| It pained me to do it, but I had to measure to find the middle of the board. :) |
Once that was done, I printed out letters and a clip art image of a nest. After a few tries to find the right size and scale, I cut out the letters and nest and taped them to the board.


With the letters on the board, I was ready to start hammering nails along the edges of each letter. Let me just say that this was harder than I thought. Obviously, I'm no carpenter, but it took me a little longer than I anticipated to get into a rhythm. (It took me one whole night just to finish the "F") Anyways, just don't be hard on yourself if you happen to bend a few nails... that's what the back of the hammer is for. Nails are cheap; you can buy more. ;)

Spacing between the nails is up to you, but I will say that the closer the nails are, the more difficult/tedious it is to wind the string between them. On the other hand, if they are too far apart, it will be come more difficult to define your shape. Try to leave ~1cm between the nails. Be careful not to hammer the nails too far down either, so that you have room for string on each nail. I think ~0.5cm of exposed nail is sufficient.
 |
| Yikes. This first letter was rough. If your nails are a little crooked like these, just use the back of the hammer to straighten and move the nails where you want them. |

Letters are done! (time for hot tea to help with the hand cramps) ;)
For the nest I decided to place nails along the outline of the branches, nest and eggs. You can always add more nails if the shape is poorly defined, but too many nails makes the shape fuzzy too. Trial and error, as always. :)


Once all the hammering was done, I thanked the Lord. :) I removed the paper templates and moved my project from the work bench back to the craft room. Time for the string!


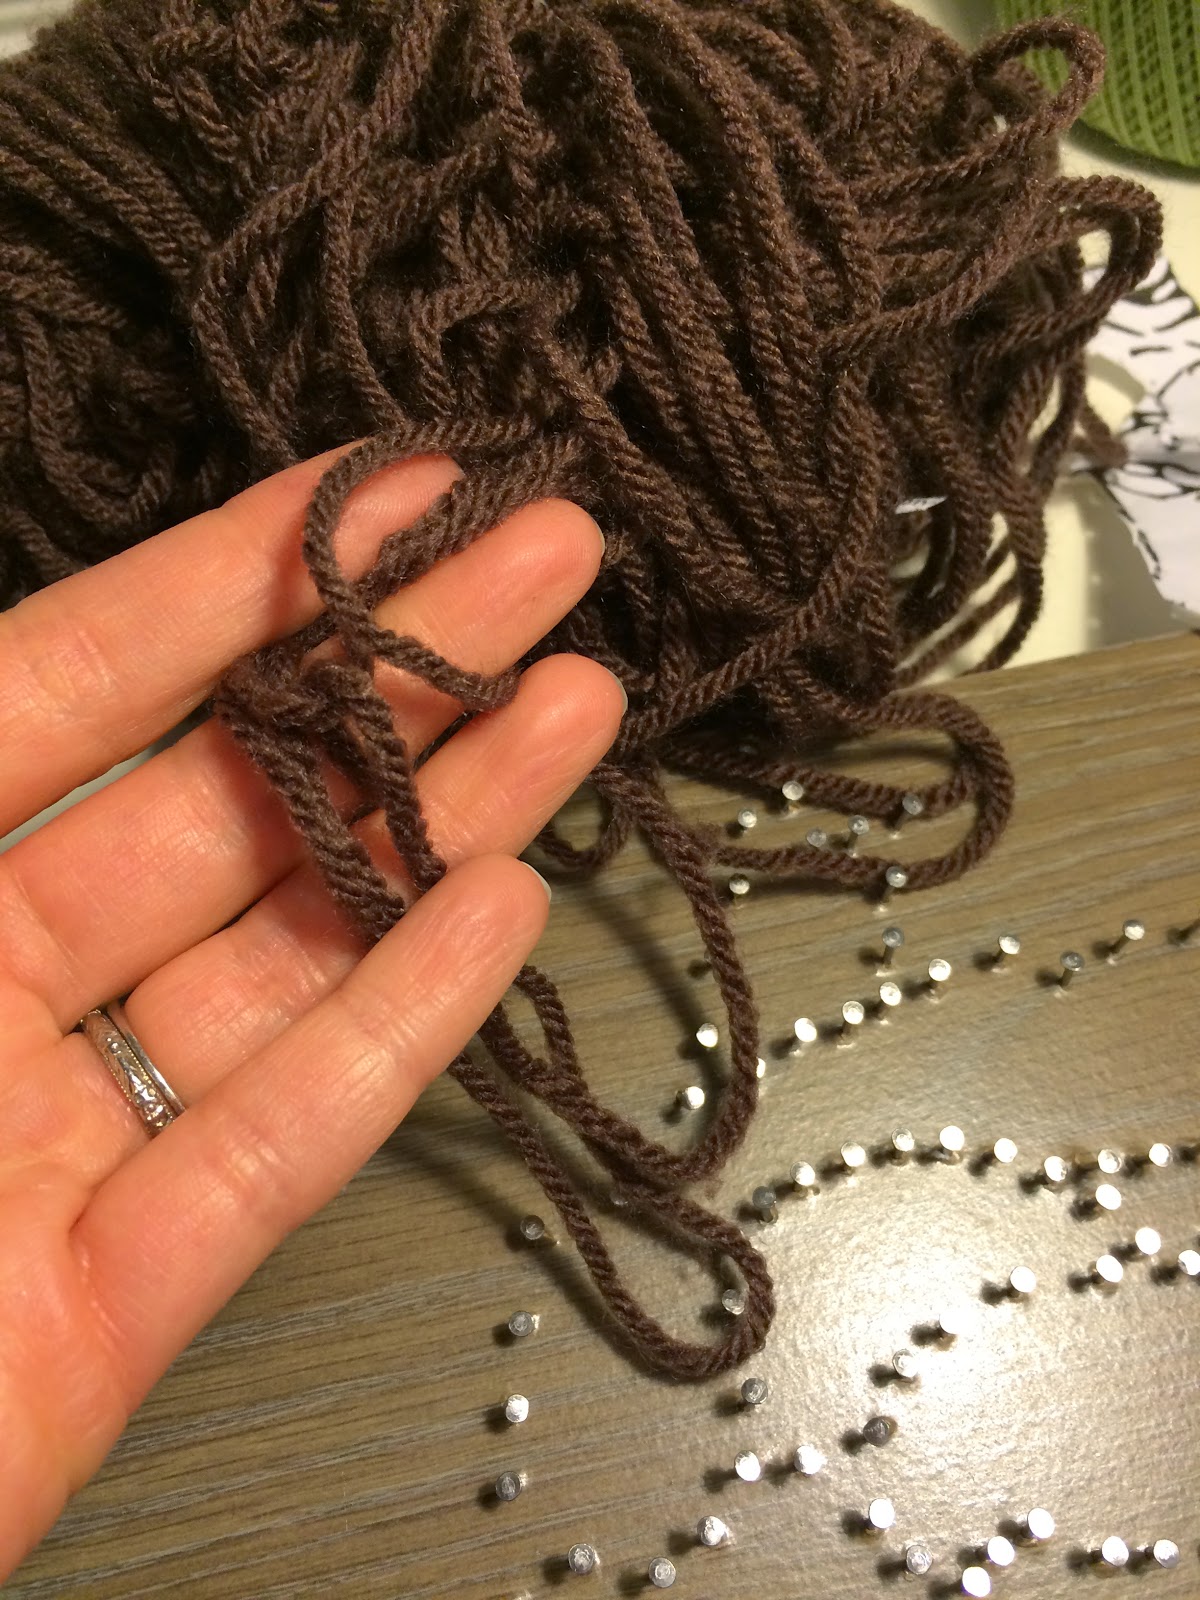
You can use any string or yarn that you like. Just know that the thicker the string is, the fewer times you can wind it around a nail. On the other hand, with thick string or yarn, you don't need to do as many passes around the nails. It's up to you!

I started by tying a knot around one of the nails and then wound the string around the outline of the letter a couple times. Connect the dots! :)
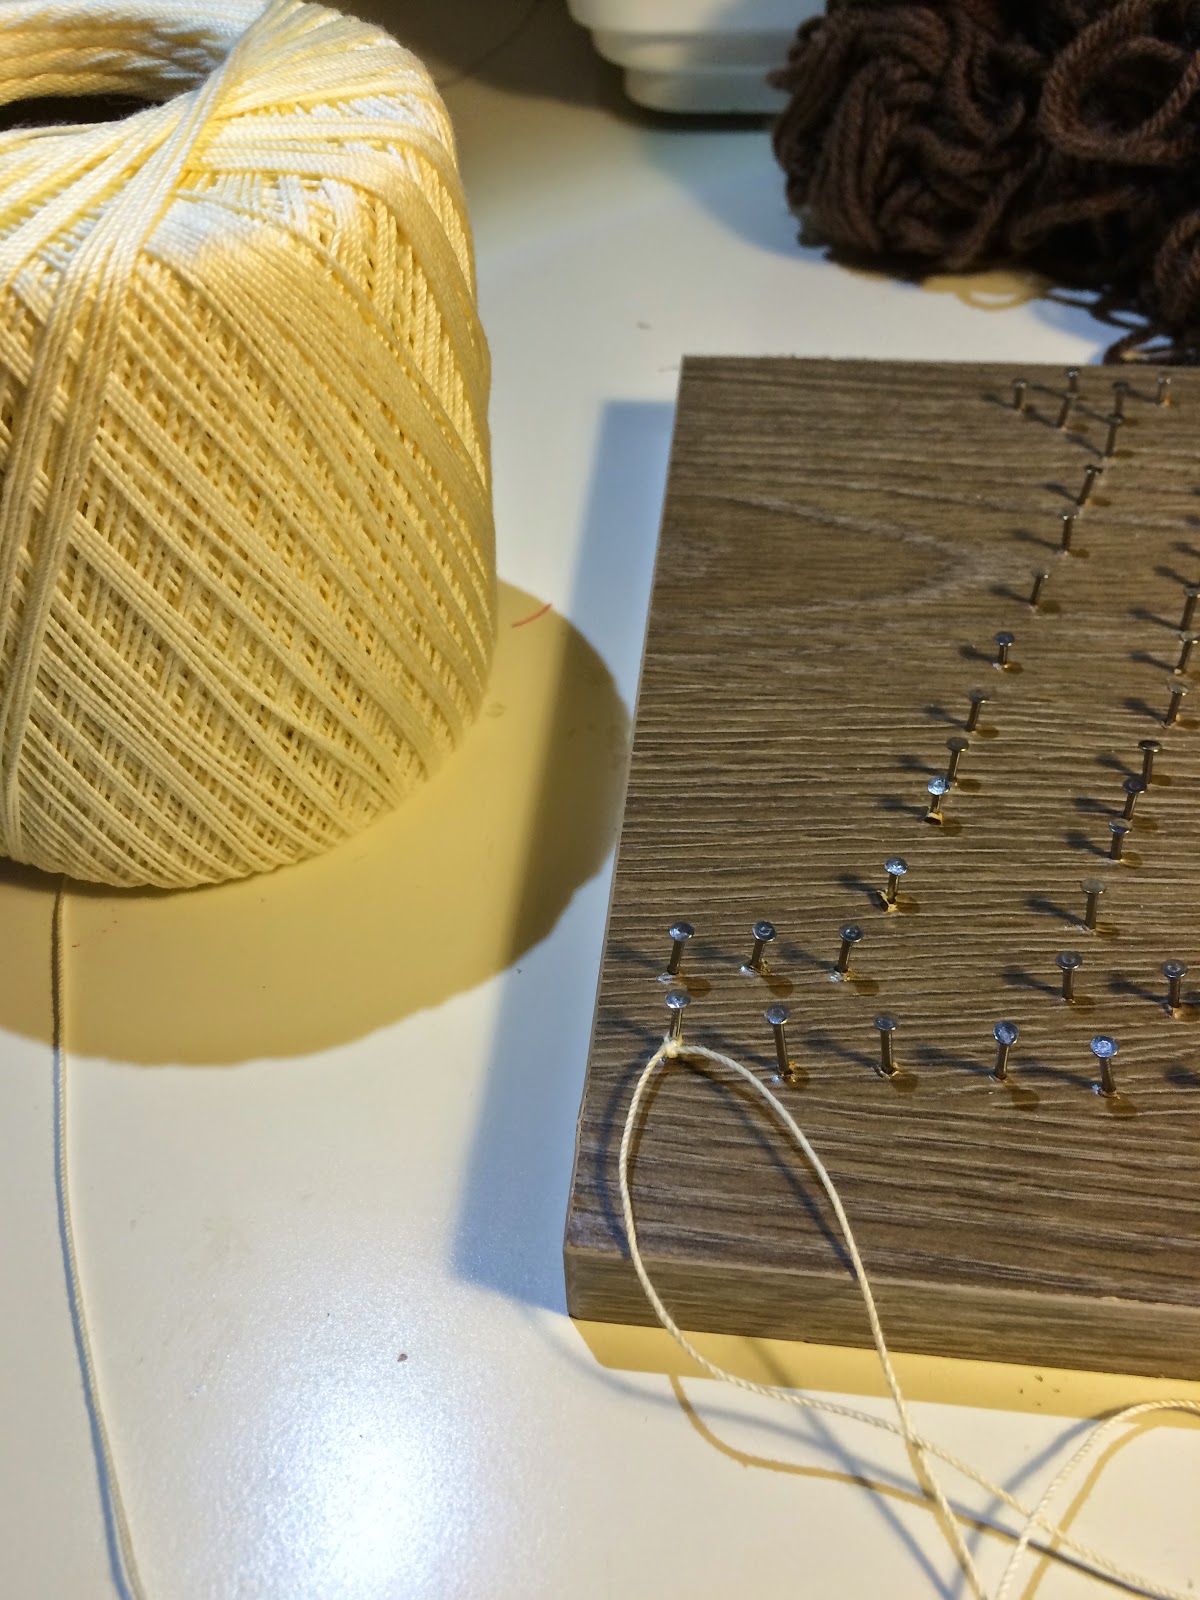


After doing the outline, I started to fill in the shape.* There was no real rhyme or reason for what diagonals/patterns I chose; I just wanted to fill in the space. But if you'd like, you can play with certain patterns to create different effects.

*Note: When winding the string, try to find the balance between too tight and too loose. You want the string to stay put and not slide off of the nail, but you don't want it so tight that it puts too much strain on the nails.


Once I was happy with the shape, I tied a few knots around one of the nails and cut the string. Easy enough! I used the same technique for all the letters.

 |
| Frequent coffee breaks are recommended. |

For the nest, I first used brown yarn to outline and fill in the branch.


I used white string to outline and fill in the eggs. I made a lot of passes with the white string because I really wanted the eggs to be visible.

Finally, I used twine to make the nest. I traced the outline and just made a few passes across the width of it to give the idea of pieces of twigs in a nest.


..... and, it's done!!


The trickiest part about this project was wrapping it and putting it under a tree, (well, that and the hand cramps), but it was worth it. ;)
Have fun creating your own string art! The possibilities are endless. :) Check Pinterest and Etsy for really cool ideas!

No comments:
Post a Comment