
Hello all!
I hope you're having a lovely day! It's a bit dreary and gray here today, but that isn't a good enough reason not to have some more fun with your fabric left-overs! So, here we go!
I have to confess... I have a deep love for bunting, banners and all kinds of celebratory garlands. (I think you may know a little bit about my love for garlands.)
I must say, there is something extraordinarily cheerful about bunting. Maybe it's that it makes me feel a little bit royal....

Know what I mean?

No one throws a party like the Crawleys... am I right?

Sigh. I can't look at Downton without feeling sad. Oh, Lady Sybil. Oh, Matthew. Sigh.
Anyways, what better way is there to celebrate, than with some happy bunting? Baby showers, birthday parties, graduation or a wedding.... decorate the nursery, patio, whatever!
I mean, I'll do whatever I can to make my home as hospitable as possible, just in case my favorite princess comes for a visit.

Hey, it's possible. We could totally be friends. :)
Ok, ok... enough with the chit-chat, let's get going!
Materials you'll need:
-Fabric (any fabric will do!)
-Scissors
-Ruler/cardboard for making triangle template
-sewing machine/coordinating thread
-Bias tape (or ribbon)
-Pencil/marker

The amount of fabric you need only depends on how much bunting you want. I'm making this bunting for a party, so I needed a good bit. I purchased 1/2 yard of three coordinating fabrics which yielded 72 triangles.... more than enough. ;)
First, you need to make a template for the shape you want for your bunting. I opted for the triangle. You can play with the size/dimensions of your triangle. An easy way to make your template is to use a ruler to make an equilateral triangle, (same length on each side.) I wanted my triangles to be a bit more "pointy", so it was about 9" on two sides and ~6.5" on the top side.


Once your template is ready, start tracing! This is probably obvious, but make sure you do your tracing on the "wrong" side of the fabric, unless you're using a disappearing ink fabric marker. Trace as many triangles as you like.


Time to cut!


Once your triangles are cut, get ready to sew!
You can use ribbon if you don't have bias tape, but I think it gives it a nice two-sided, finished look.
I found a double fold bias tape that was 0.25" wide and 4 yards long. (Any width would be fine!)

If you're not familiar with bias tape, it's basically a strip of fabric that has been ironed and prepped to cover up your unfinished edges on all kinds of projects. You can also see what Wikipedia has to say about it.

Ready to sew? Ok!
Sew several inches of the bias tape (as close to the open seam as you can), to give yourself some extra tape to tie up your bunting.

Now, open the bias tape and insert your first triangle.

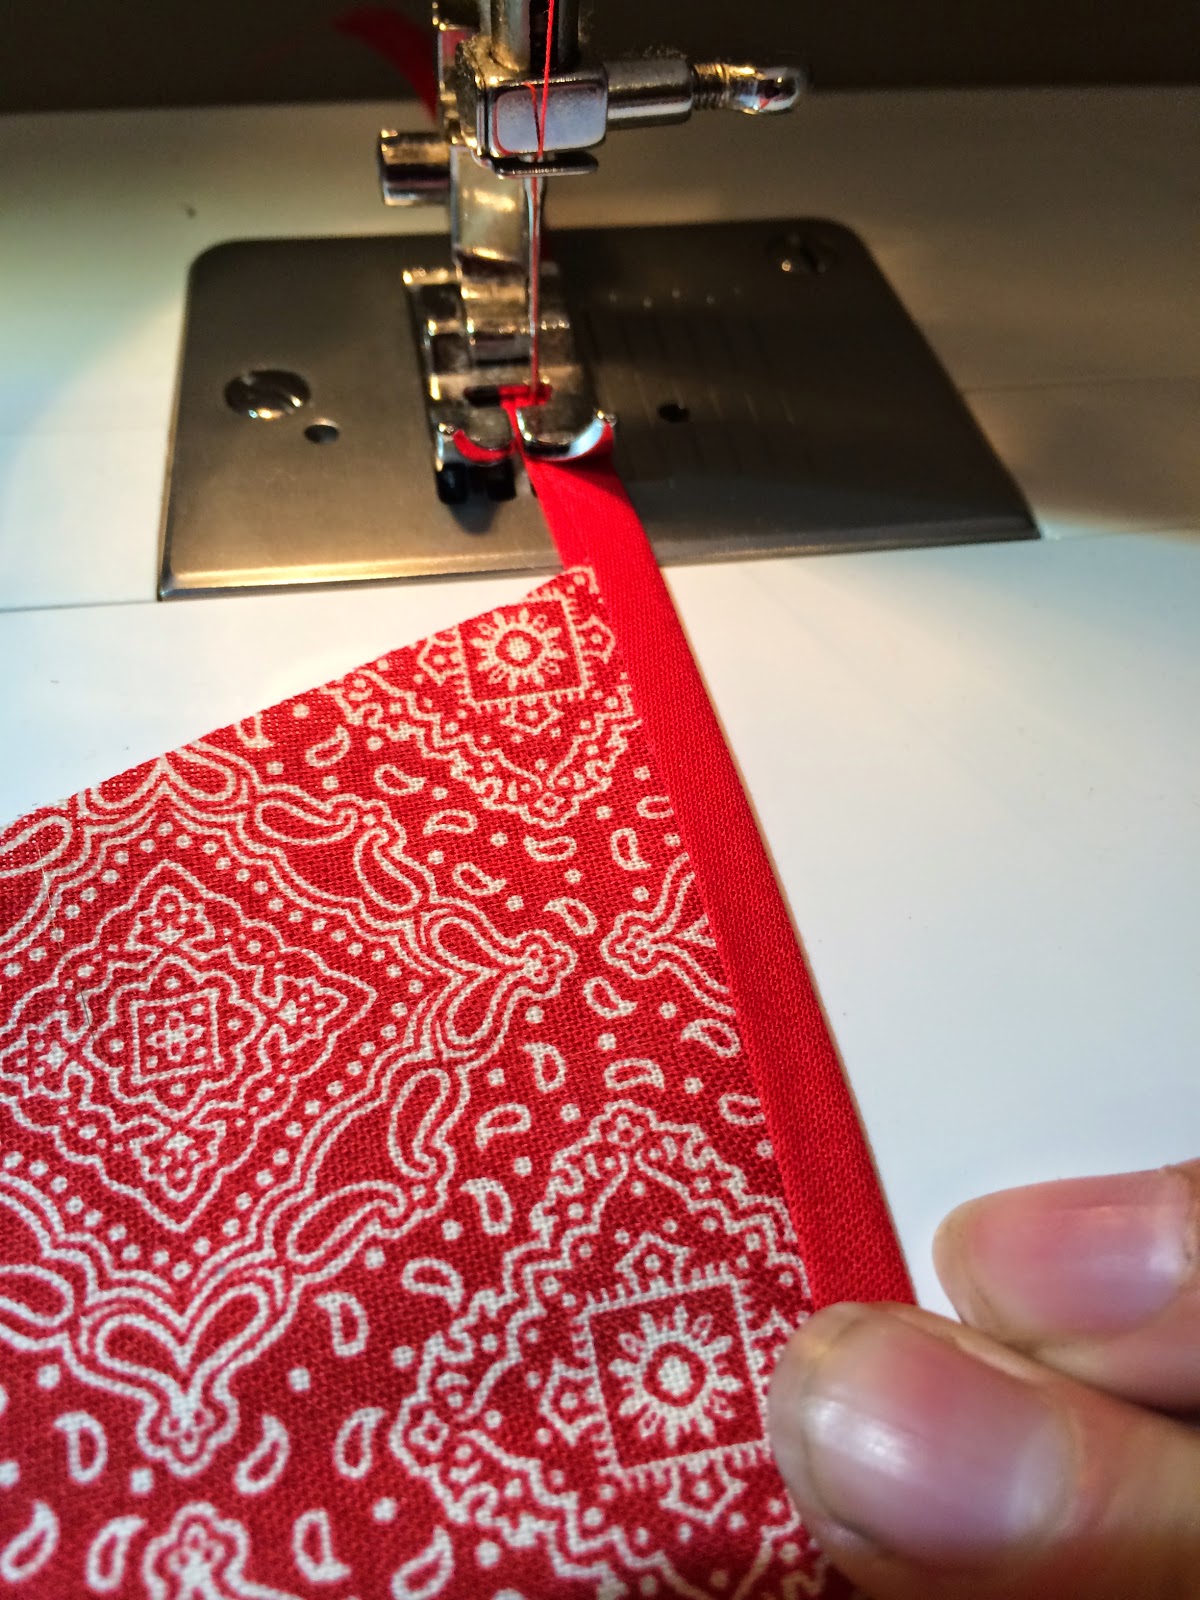
Holding it in place, sew away!

The distance between the triangles is up to you!


Now, repeat until you're out of triangles!
Give yourself a few inches free on the end of the bias and sew to the end! Backstitch to secure your stitches and you're done!

Now, hang them up and be festive!


If you want the bunting to have a message or spell out a name, you can paint or stamp letters on to the bunting. Just have fun!

I say! How ripping!

Thanks for reading, as always! See you next week for one more fabric scraps post!
No comments:
Post a Comment