
Hello again!
I have been working towards one year's worth of weekly posts, and I'm almost done! This will make my 51st crafting post, and I'm so excited for it to be felt food! We all know it's one of my favorite things right? :)
Remember this?

And these?

So, let's get to it! I have several little girls in my life with upcoming birthdays, and they love to play pretend. Felt food is a fun way to get creative and make a pretend version of any kid's favorite snacks!
Bonus: these snacks will keep them busy and won't ruin their dinner!
First, let's make some....
Donuts
Here is a little inspiration from my Google Image search:

Who's hungry?
Here we go!
1.) Start by making yourself a template by tracing two circles, like this:


2.) Make a frosting template, using the same smaller circle to make the inside of your template. Make a curvy, circular shape for the outline of the template.


3.) Cut out your felt shapes! (2 pieces for the donut and 1 for the icing) Any color will work!


4.) With your sewing machine, or by hand, sew the outer edge of the icing onto the top of your donut.


5.) Customize your icing!
Embroidery floss stitches for sprinkles:


Embroidery floss french knots and stitches for sprinkles and mini chocolate pieces:


Strips of off-white felt for icing drizzle:


Sparkly beads sewn on for sprinkles:


6.) With right sides together, sew the outer edge leaving a ~1-2 inch opening for turning the donut right-side-out.


7.) Once your donut is right-side out, sew the smaller circle closed.


 |
| You can trim the excess felt around the edge of the seam here! |

8.) Stuff your donut!

9.) Use a "hidden stitch" or ladder stitch to close the donut!

 |
| These aren't incredibly neat ladder stitches, but I'm practicing! :) |
Pour a cup of coffee, or tea, and enjoy! ;)


---------------------------------------------------------------------------------------------
Next, we need some cookies!
I tried two different methods...
Chocolate Chip Cookies
1.) Make a template and cut two felt circles for each cookie.

2.) Cut several small, "chunky" shapes from dark brown felt for the chocolate chips.


3.) Sew on the chocolate chunks by hand or with your machine.
(Using a running stitch and some embroidery floss would have been super easy, I just chose to try with the machine because I was lazy.) :)

 |
| For demonstration, I used a contrasting thread... but if you want your stitches to blend in, use a thread that matches the felt! :) |
4.) With right sides together, sew around the perimeter of the cookie pieces, leaving an opening for turning.


5.) After you turn the cookie right-side-out, stuff it and close with a ladder stitch.


Done!
You could also cut out different color pieces to make an M&M cookie!


 |
| Get your glass of milk ready! |
Frosted Sugar Cookies
These cookies were smaller and a little bit quicker.
1.) Cut two felt circles for each cookie and a smaller curvy, circle shape for the frosting. Have fun with the colors!

2.) Sew the frosting piece onto the top of the cookie, by hand or with your machine.

3.) Customize the frosting felt with sprinkles, if desired!

4.) With WRONG sides together, sew around the perimeter of the cookie. Before you complete the seam, you can add a little stuffing, then finish sewing the perimeter.


Done!


---------------------------------------------------------------------------------------------
Fish Crackers
Is there any kid (or adult) who doesn't love these happy, cheesy fish??
For the crackers:
1.) Make a small fish template, and cut out as many little, orange fish as your hands can tolerate.

2.) Use orange thread or embroidery floss and use a running stitch to attach two pieces for each fish.


3.) Use a fine marker or fabric pen to draw an eye and smile on each fish.

For the pouch:
1.) Cut two squares of white felt for the front and back. Cut a bigger fish shape and a wave shape, if desired from blue felt.

2.) Sew the wave and fish onto one of the white squares, by hand or with your machine.

3.) With right-sides-together, sew around 3 sides of the squares to create the pouch. Be aware of which sides you sew, so that when you turn the pouch inside-out, the wave/fish are in the correct place.

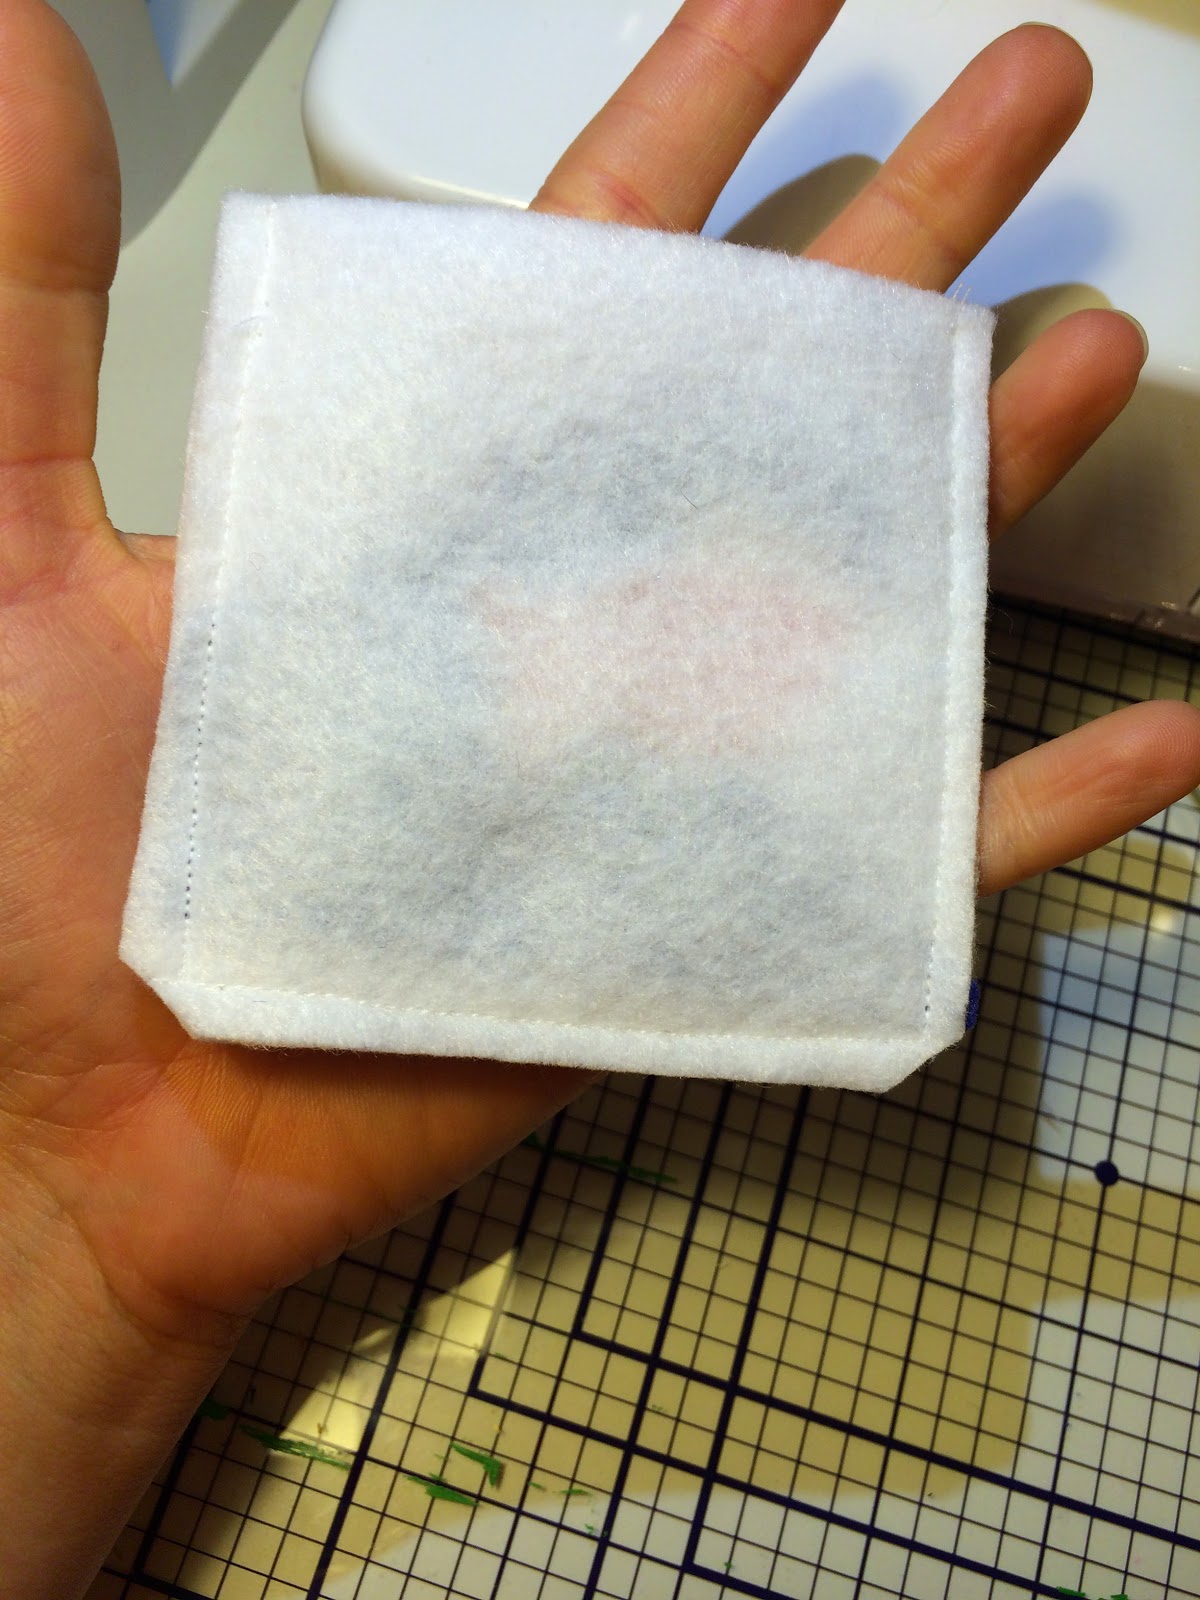


4.) Put your fishies in their bag, and let the snacking begin!

Thanks for reading! Soon, I will have my 52nd (and final for now!) post up on the blog! So glad you could read along and be a part of this little journey!
Now, go make something delicious!

No comments:
Post a Comment