Friday, August 29, 2014

Pinterest Challenge: Hip Baby Headbands


Sometimes, you just get lucky.  .... Like when you find a jersey maxi dress with a super fun print, that happens to be a little to big, on the clearance rack at Target.

Hello to you, future headbands, skirt and scarf!


Seriously, I will now always check the clearance rack, not just for fun clothes for me, but for future project fabric. :)  You should also check your closet for any t-shirts you're not wearing anymore!

So this week's challenge for me was to try to make some of the seriously cute jersey knit headbands I've been seeing so much of lately.  There are a lot of little babes in my life, so I have a lot of reasons to make some headbands.

Wouldn't you make a headband for her?


So here is the first Pinterest inspiration:


This was a wonderful step-by-step tutorial!  It was easy to follow, and here was my first attempt:


Tips: When sewing jersey knit, take your time. Ugh. I have a lead foot tendency with the sewing machine... which is the quickest way to crooked lines when I'm sewing this kind of fabric.  Just go slow, and don't be afraid to use pins to secure your pieces!

I made this headband in a few different sizes, and I definitely appreciate her tip to add a small dot of hot glue to hold the flaps of the bow in place.  Why not make a Mommy & Baby set?  I'm logging that idea away for a future baby shower gift. :)


......................................................


Here is the next Pinterest headband challenge:


Love this tutorial!  PS- If you're interested in getting brave with some sewing, check out the rest of her blog for her creative designs and free patterns!

This headband took me a few tries to figure out, but take your time. (Ugh, again.)
One tip with this headband, is to be aware of the direction of the grain of the jersey knit.  I wanted to change the direction of the print for this headband, but in doing so, I decreased the ability for it to stretch.  Just make sure your sizing will work before you sew! (Lesson learned.)

Here was my finished product:


......................................................

The last Pinterest inspiration came from an Etsy post:


No tutorial for this headband, but I followed the same technique as the Baby Turban, but using only one piece instead of two.

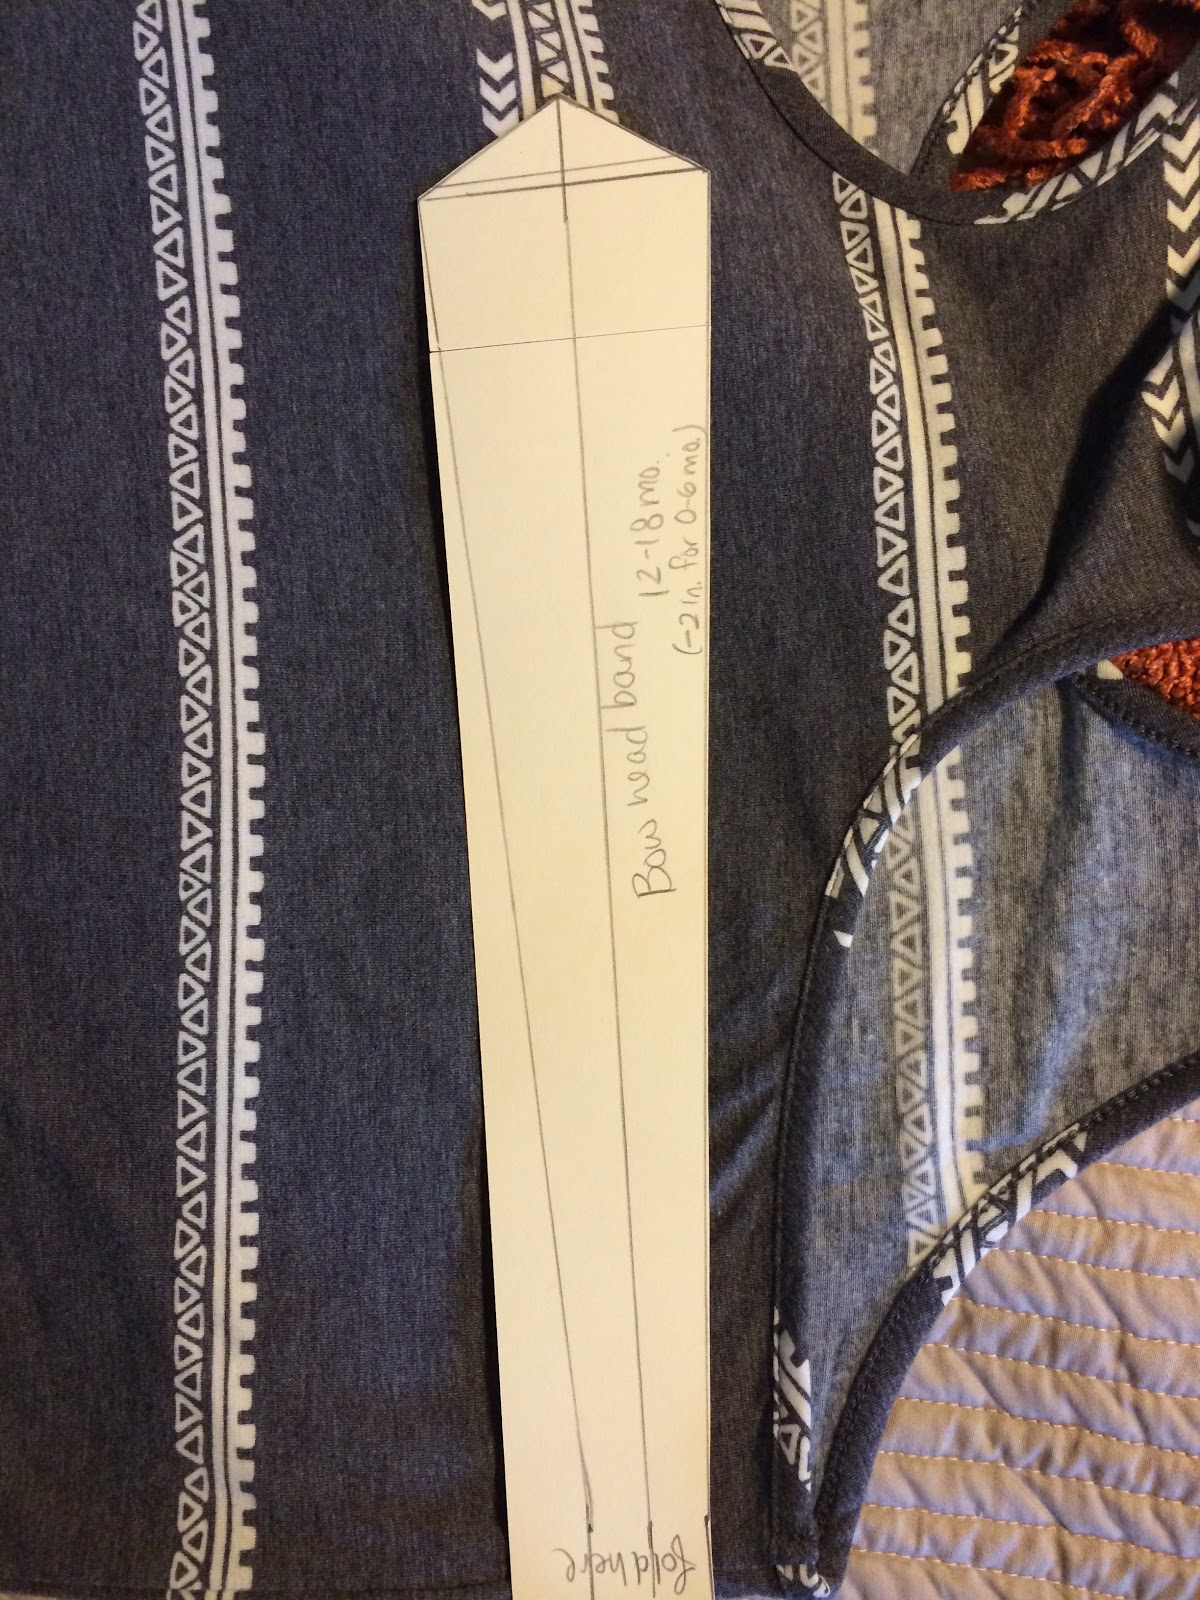
Cut out your fabric, depending on the size you want.  
(Check out this link for baby headband sizing tips!) 


This fabric is folded, so I cut a total of 16" in length and 3" in width (1" on either side of the pattern stripe.


Sew the cut edge, with right sides facing each other.  


Turn the headband right side out.  Position the seam on the under-side of the headband so that it won't show.  If you're feeling fancy, you can give it a quick ironing. :)


Now tie a knot in the middle. 


Check your sizing, then sew the ends closed just like you did with the baby turban tutorial.


So cute! Done!


So get creative, and start looking at fabric differently!  This week's challenge will potentially result in the depletion of my t-shirt supply.  After all, headbands are way cooler than t-shirts, right?


Thanks for reading!


Friday, August 22, 2014

Pinterest Challenge: Felt Pizza


Happy Friday, and happy back-to-school week too!

I've had some fun this last week working on some "special orders"...


...but the best has been the inspiration for this week's post. :)


If you've been with me since the beginning, you know I LOVE FELT FOOD. Like, a lot.

One thing I've wanted to make for a while is felt pizza, and this week I finally had a reason to try it!

Here was my inspiration from Pinterest:


Here is the awesome tutorial from The Crafty Woman
(PS- who doesn't love that blog title?)


So fun! I wanted to try to use the same technique she did to make the crust, but I only wanted to make 2 slices, rather than one whole pizza. I also added a few extra ingredients, inspired by the other inspiration picture from an Etsy posting.

Here we go!

To make the crust for 2 slices:

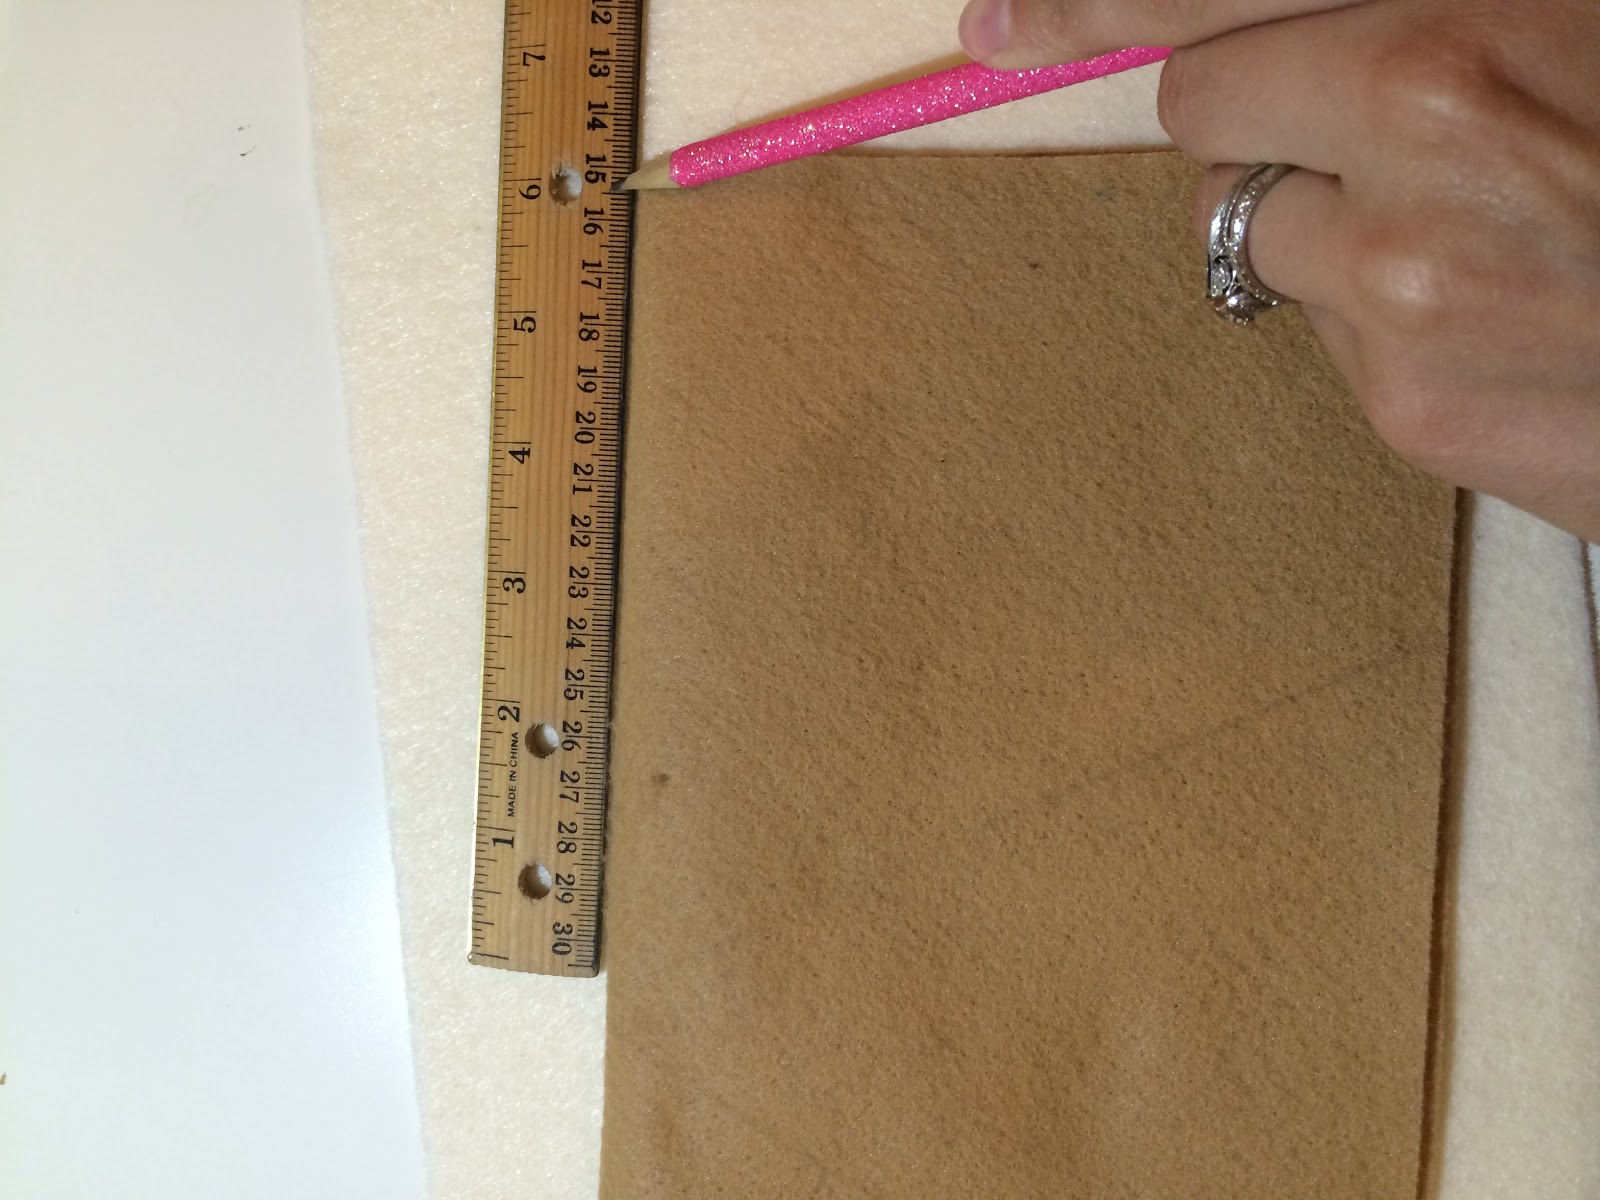
I used one sheet of tan felt, and folded it in half.  


Cut out two triangles from each half. (Mine were roughly 6 inch equilateral triangles)


Place each pair of triangles together, and secure with a pin.  Now sew close to the edge, almost all the way around, leaving an opening to turn on the "crust" edge of the pizza slice.


Turn the slice inside out, then sew a line across the top of the slice ~0.75"  from the edge.  This will make your crust.


Use felt scraps or polyfill stuffing to stuff the crust.


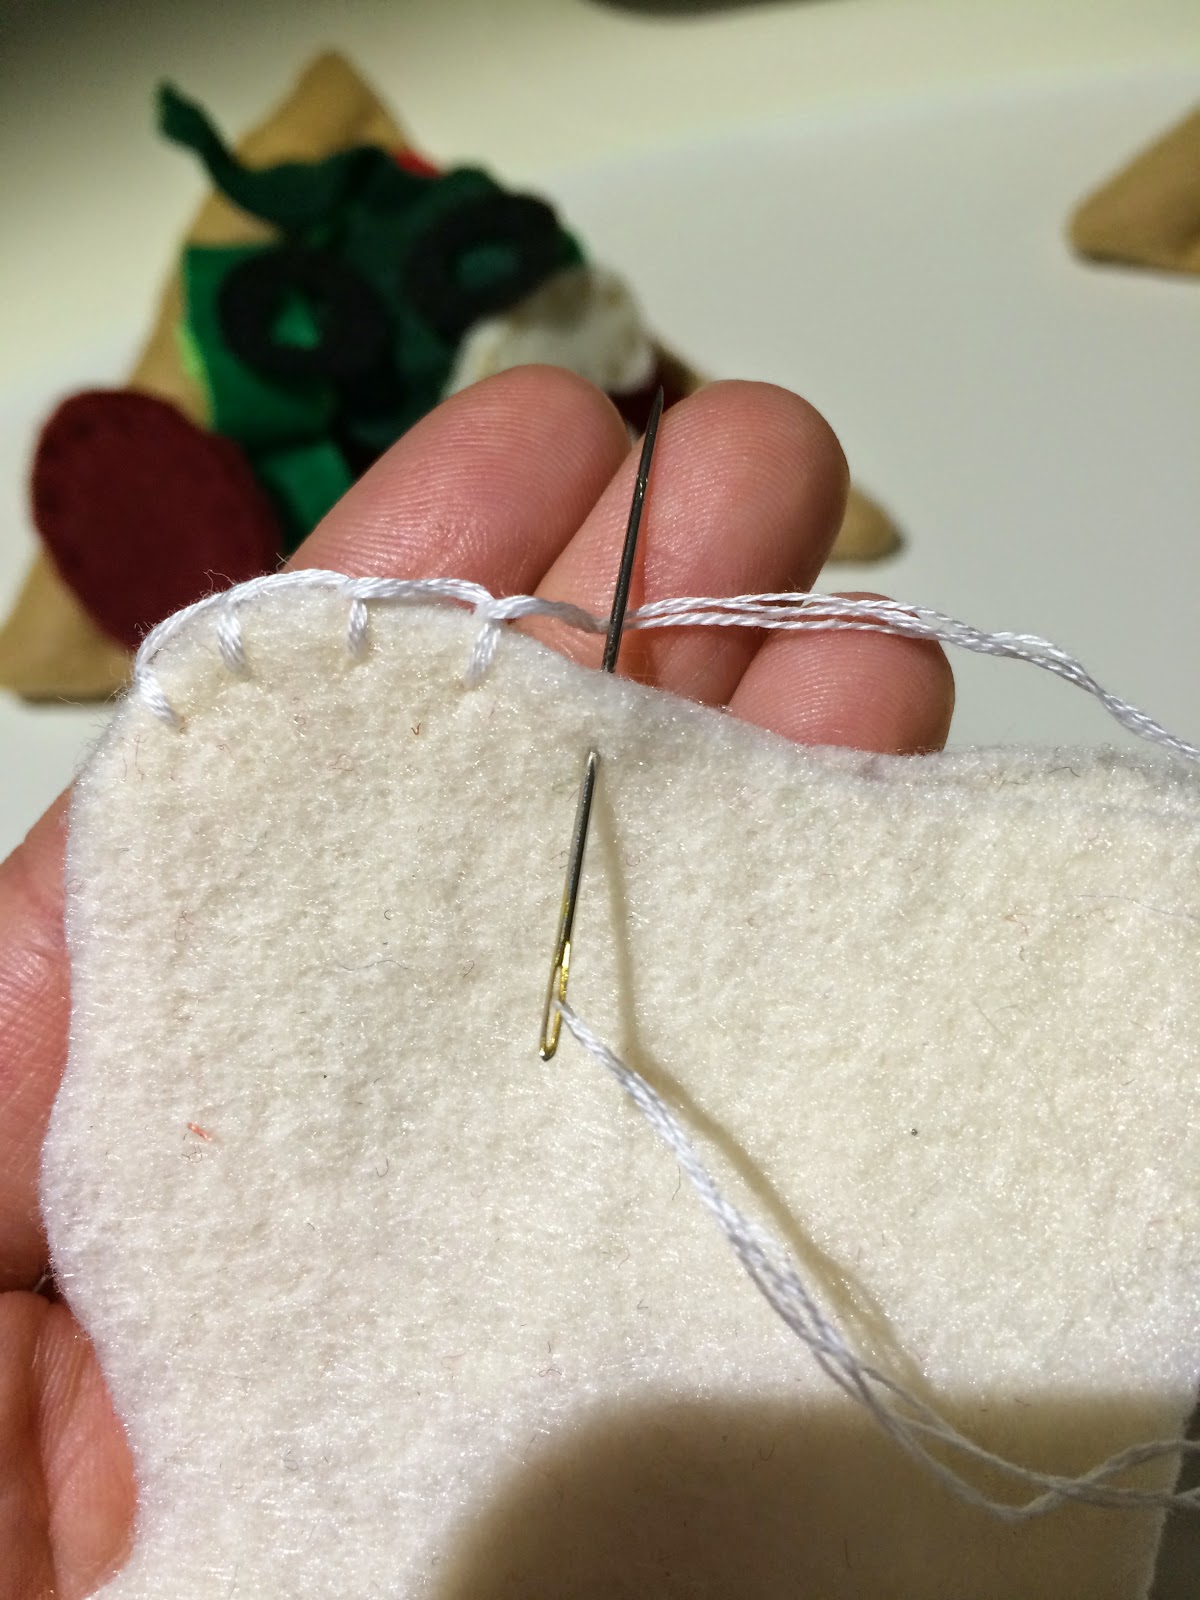
Now, close your opening with a blanket stitch.  (For a reminder of how to do a blanket stitch, click here.)


Now you're ready for sauce!


To make the sauce:

Cut a freeform shape that will fit on your slice.


Use a running stitch to secure it to the top layer of felt on your slice.  Knot the thread, and done! 
(Of course, you don't have to attach the sauce to the crust.  You can leave it free, so the little one in your life can decide whether or not to have sauce on each slice.) :)


To make the peppers:

I followed The Crafty Woman's technique for this-- so cute!  The only change I made was to cut one long piece (8"x0.5") rather than 4 pieces to sew together.  I folded the long piece and sewed along the folds.  Whatever is easiest for you will work!  Try other color peppers too!


To make the spinach:

You could use this same technique to make any leafy green, of course.  Just vary your leaf shapes.  You could also cut some tiny leaves to be the basil on a margherita pizza... delicious. ;)

Cut out your leaf shapes.  


Use a running stitch with green thread along the center line of the leaf.  Scrunch the leaf by pulling the thread.  Knot the thread and you're done!


To make the mushrooms:

I took a tip from the Etsy pizza slice picture for the mushrooms.  Draw your mushroom shape to make a template, then cut two pieces from cream-colored felt for each mushroom. Two pieces of felt make the mushroom a bit more substantial.


I used a running stitch to combine the two layers, hiding the knot of the thread between the two layers.  


I also used a darker brown thread to make a couple of markings on the mushroom.  Done!


To make the pepperoni:

Just like the mushrooms, I cut two circles out of burgundy felt for each pepperoni.  


Use a similarly-colored thread to make the running stitch.  I've seen other crafters use some white or other colored thread and make some french knots on the pepperoni to give it more texture, but I liked it this way. :)


To make the olives:

I know this one is pretty self-explanatory. :) I cut a small circle from a sturdy black felt, then folded it to cut out the inner circle..... and, done.  


You could definitely double up the black felt, but the felt I had was really thick.


To make the cheese:

I struggled with the cheese for a while. I've seen people who cut up yarn and bag it as "shredded cheese" or others who made yellow and white markings on the felt tomato sauce.  I just decided to make a big piece of melted felty mozzarella cheese. :)

Just like the sauce, cut out a free-form  shape from white or off-white felt x 2 per slice of pizza.


Join two pieces together with a blanket stitch.... Done.


...........................................................................................

You're done!  Now, put it on a plate, and eat it up!


I also LOVED this blogger's idea about the pizza box!  If you're making a whole pizza or several slices, go ask your favorite pizza take-out place to pretty-please give you an empty box! What kid wouldn't love playing pizza shop with his own pizza box?

Ok, go grab some felt, make a mess and have a party. :)  It's too hot to go outside anyways.

Thanks for reading!

I hope your felt food aftermath isn't as ridiculous as mine.